Reading & writing
The Bare Bones Camera Course For Film and Video by Tom Schroeppel
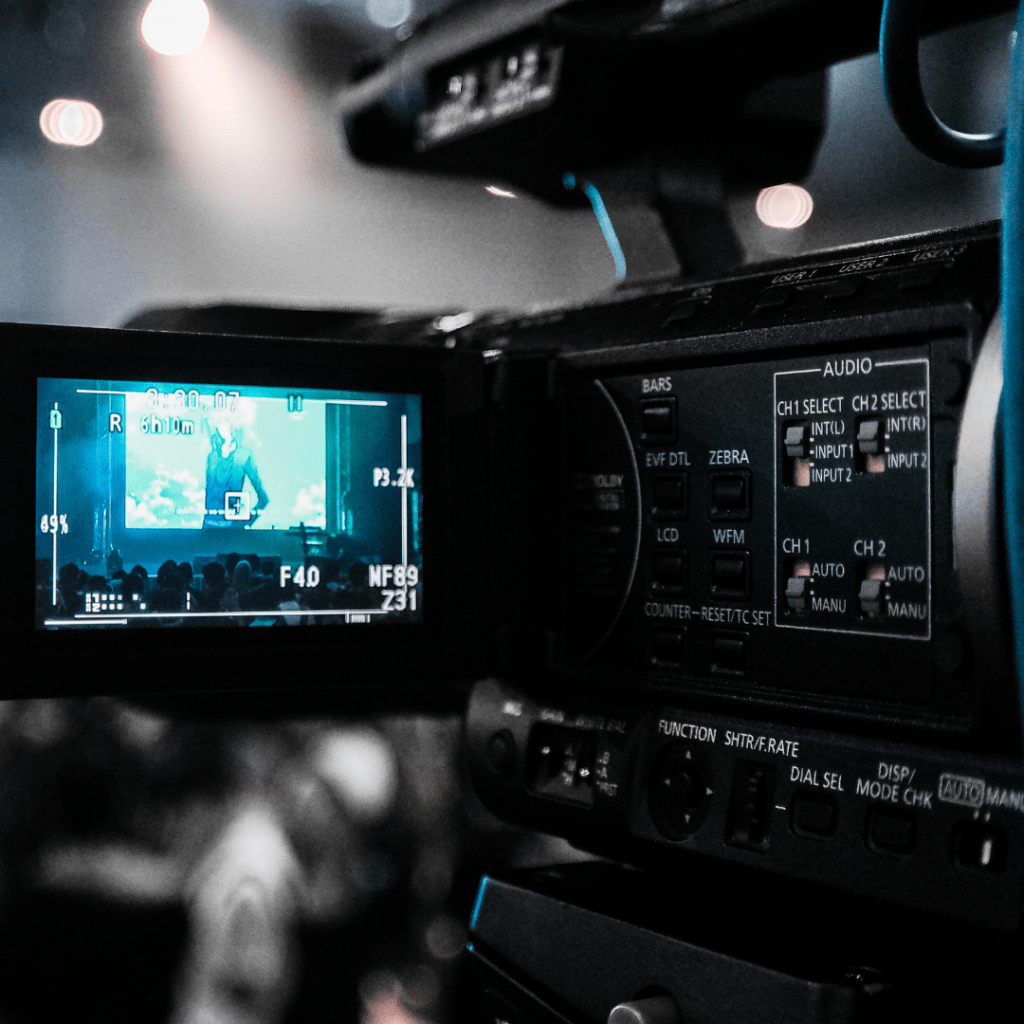
Ch. 1 – Basics
- Digital cameras are imperfect replicas of the human eye. It gathers light reflected off of objects and senses the patterns formed by the different variations of colored light.
- Still film cameras record light patterns onto a light-sensitive film and the chemicals will react differently to various colors of light. To see the image, you need to develop the film in a few stages of chemical solutions in a dark room. The film will record the images upside down as it passes through the lens.
- Movie film cameras do the same thing as a still film camera, just at a faster rate. The 8mm will take 18 different frames every second. The 16 and 35 mm movie cameras take 24 frames per second. As these frames are projected at that same fast rate, it gives the audience the illusion of continuous movement and their brains will fill in the gaps between individual frames (known as persistence of vision).
- “Exposure” is the amount of light that comes through the lens.
- The hole in the center of the lens that the light travels through is called aperature. If the aperature is large, it lets in a lot of light and the photo will have too much brightness. If the aperature is small, not much light can get through and the image will look very dark.
- The size of aperature is adjusted by f/stops – which are fractions. AS an example: f/2 means the aperature is 1/2 as big across as the lens is long. Newer lenses are marked with t/stops, which are just f/stops that are measured more accurately.
- Color temperature is a way to identify different colors of light sources (measured in kelvin).
- Color filters are used to convert the exisiting light to the color temp required. The filters are just what they sound like, a colored lens fit on top of the already attached lens.
- ISO indicates the speed or sensitivity of the film. The lower the number, the less sensitive and slower, and the more lightlight you need to obtain a usable image. You can find the ISO number on the film you’re using, but if you’re using this on your digital camera on manual mode it takes some trial and error.
- Depth of field is the area in front of your camera where everything is in sharp focus. Depth of field decreases as you increase your distance from the subject. And it increases as you decrease your distance from the subject, or when you close your aperature.
Ch. 2 – Composition
- USE A TRIPOD!!!!
- Rule of thirds
- Balance
- Leading looks: leaving enough space in front of a subject. A good example: imagine you’re taking an image of a car, but if you point and shoot, it will probably be out of frame by the time the photo is taken. With lead time, you give enough distance in front of the car so that it will remain within the shot. Even with inanimate object that are not moving this is important for balance.
- Masses: Imagine you have a large object on one side and nothing on the other. It’s off balance. Add something into that space to balance it out.
- Colors: the eye is most attracted to brighter and bolder things, so that’s where your audience will first look. This is also important when measuring the weight of the image you’re capturing.
- Angles aid in the storytelling of your images and can add an interesting dimension.
- Frames within frames: using elements of your location to create a full or partial frame within the camera frame.
- Leading lines: something that the eye follows in an image.
- Backgrounds that are too visually stimulating can make your subject lose the audience’s focus.
Ch. 5 – Camera moves
- Zoom (from close to wide show, or vice versa), pan (horizontal), tilt (vertical), and a combo of these three
Ch. 6 – Montages
- A series of related shots used to condense time or distance, set a mood, or summarize info.
- For a montage to work, it’s best if one shot is completely different than the next.
Additional articles
Learn What is a Storyboard and How to Use it to Make Better Videos
- Storyboarding is an essential process to film production. It outlines all aspects of the video you’re about to produce, including shot count and the types of scenes to film, and the length/time it will take to make the production. It gives the videographer a clear idea of the project and what the message of it is.
- I really like that this article gives you a template for the storyboard, but you can also find more designs on Canva. I also really like that they give you clear examples of what you’re supposed to put down in the storyboard.
- I’ve made storyboards in the past, and I’ve been either too simplistic, or I’ve over complicated it (like this article says not to do).
Video Pre-Production Planning Check-list
- Clearly define objective
- Define your audience (then narrow it down)
- Share your budget
- Develop your key messages
- Develop a creative brief
- Concept development
- Treatment
- Outline of creative approach that summarizes the general idea of the video.
- Storyboard
- Planned distribution
- Where, how and why people will be watching it
- Length of video
- Approvals
- Do you need sign-off from the people in the video?
- Do you need approval from the company you made the video for before posting?
- Pre-production meetings
- Scheduling and production planning
- Location scouting
- Permits
- Crew
- Equipment
- Talent or presenters
- Weather
- Schedule
ACTING TIPS: 12 CAMERA SHOTS EVERY ACTOR SHOULD KNOW
- Aerial shot – filmed from the air, often to show location
- Establishing shot – show location and characters, can use other kinds of shots
- Close-up
- Extreme close-up
- Dolly zoom
- The over the shoulder shot
- The low angle shot
- High angle shot
- Two shot – medium shot that shows two characters in frame
- Wide shot / long shot
- Master shot – captures all actors in a scene and runs the entire length of the action taking place. Like the establishing shot, but more specific.
Research to inform
I am a huge Wes Anderson fan, specifically Moonrise Kingdom (2012). It’s been my favorite film since I first watched it in 2016. This entire scene at Camp Ivanhoe is one long shot, taken on a dolly. The timing on all of the talent and props had to be so on point or the entire shot would have to be redone. I also like the little things that Anderson inputs, like Scout Master Ward holding his cigarette away from the boys making fireworks.
This scene (starting at 0:18 in this clip) has to be one of my favorites. I love the alignment of the bird talent, as your eye goes directly to Suzy (the raven). The scene goes back and forth from Sam (the khaki scout) back to the birds as the conversation continues. We get to see into the characters’ personalities and feel more on the inside as you gain this knowledge from backstage. Before this scene, the church is presenting a play on a flood (foreshadowing what is to come in the rest of the film), and you see the audience inside the church. In a way, this breaks the fourth wall because the audience (like you and me) now feels like they’re part of the movie, not just watching it from a screen.
The first scene in this clip compilation is the Fox family in their tiny kitchen. Even with claymation, Anderson gives an incredible amount of detail in each scene. The symmetry in all of his films!
Create
Please click here if it doesn’t load.

Leave a comment